Tunnels and Troglodytes


Prologue
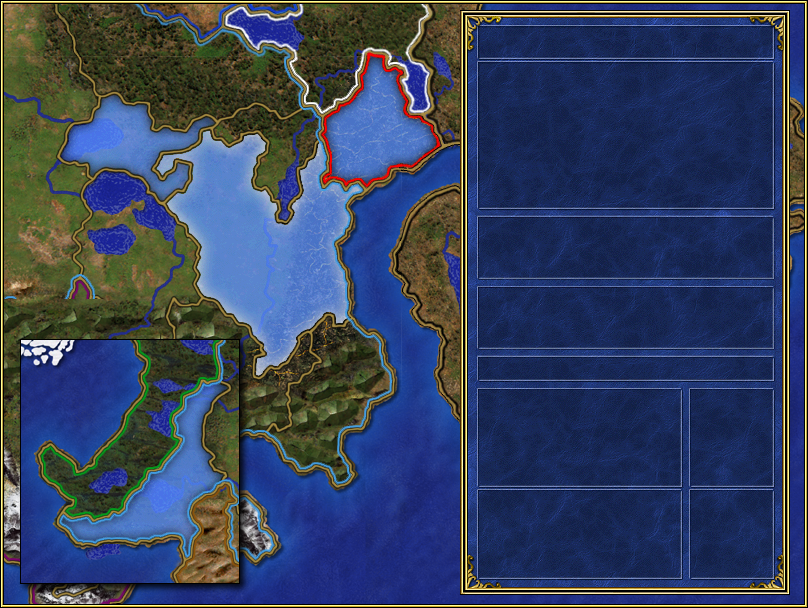
![]() Catherine: We now know how Erathia fell to Nighon and Eeofol. Through an extensive network of underground tunnels dug by the Overlord’s armies, they struck simultaneously in many areas with overwhelming numbers. Credit the military for holding the invasion to half the country. We have discovered the main artery for transporting forces from Nighon to Erathia; it is under the ocean, connecting the Nighon underworld to the Erathian mainland. Bracada and Avlee have sent armies to join the fight. First we must eliminate the remaining Kreegans and Nighon forces from the mainland, then pursue them underground, and drive them back to the shores of Nighon.
Catherine: We now know how Erathia fell to Nighon and Eeofol. Through an extensive network of underground tunnels dug by the Overlord’s armies, they struck simultaneously in many areas with overwhelming numbers. Credit the military for holding the invasion to half the country. We have discovered the main artery for transporting forces from Nighon to Erathia; it is under the ocean, connecting the Nighon underworld to the Erathian mainland. Bracada and Avlee have sent armies to join the fight. First we must eliminate the remaining Kreegans and Nighon forces from the mainland, then pursue them underground, and drive them back to the shores of Nighon.
Scenario
Timed events
| Day | Title | Message |
|---|---|---|
| Day 1 | Intro part 1 | The Dungeon Overlords are clever. While the Devils of Eeofol attacked Erathia's borders, the forces of Nighon tunneled nearly the entire distance to Steadwick, launching surprise attacks almost simultaneously across the nation. |
| Day 1 | Intro part 2 | We should credit the Royal Erathian Military Command for holding the invasion to just the eastern half Erathia. Regardless, we now have the Dungeon Overlords on the run. Your job is to pursue them back under the Nighon Straits and establish a foothold in THEIR home. |
| Day 1 | Intro part 3 | Forces from AvLee and Bracada will assist us in this final push. No Nighon or Eeofol outposts can be permitted to survive in the tunnels. We must teach the Dungeon Overlords a lesson they will never forget. Good luck. |
| Day 2 | Sailing away | You might be able to take a large force to Nighon by sea, attacking them from above, but you must use caution as the reef-filled Straits are both wide and treacherous. |
Objects
Towns
| Location | Player | Type | Name |
|---|---|---|---|
| 8, 92, 0 | - | ||
| 12, 10, 0 | - | ||
| 12, 35, 0 | - | ||
| 34, 81, 1 | - | ||
| 35, 30, 1 | - | ||
| 67, 80, 1 | - | ||
| 72, 34, 1 | - | ||
| 98, 56, 1 | - |
Heroes
| Location | Player | Hero |
|---|---|---|
| 8, 93, 0 | ||
| 12, 11, 0 | ||
| 12, 36, 0 | ||
| 34, 82, 1 | ||
| 35, 31, 1 | ||
| 67, 81, 1 | ||
| 72, 35, 1 | ||
| 98, 57, 1 |
Artifacts
| Location | Type | Message |
|---|---|---|
| 0, 25, 0 | Before you lies the fabled Sentinel's Shield, which the Seer so long ago had foreseen you to possess. Do you wish to claim it as yours? | |
| 1, 14, 0 | Before you lies the fabled Thunder Helmet, which the Seer so long ago had foreseen you to possess. Do you wish to claim it as yours? |
Quest Guards
| Location | Quest | Reward | Messages |
|---|---|---|---|
1, 25, 0 |
Return with: |
(remove) | Proposal: (none) Progress: (none) Completion: (none) |
2, 15, 0 |
Return with: |
(remove) | Proposal: (none) Progress: (none) Completion: (none) |
Signs
| Location | Message |
|---|---|
| 20, 96, 1 | Library of the Damned |
| 53, 39, 0 | Cyclops Isle |
User Commentary
While the second and third maps can be done in either order, following the Quest Artifacts through Neutral Affairs, then Deal With the Devil will grant the Spyglass and access to the Sentinel's Shield, whereas the reverse order will eventually lead to the Speculum and the Thunder Helmet.
The map overall is rendered far easier by the fact that the initial Castle town defaults to granting Town Portal and Prayer as its fourth level spells.